This 18 ml bottle of white appliance touch-up paint is used to cover scratches or marks on your appliance. The white touch-up paint can be used on refrigerators, microwaves, ranges, clothes dryers, an...
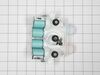
This front load washer cleaner removes odor-causing residue. Use it once a month and it will keep your machine fresh and clean. Package comes with 3 tablets.
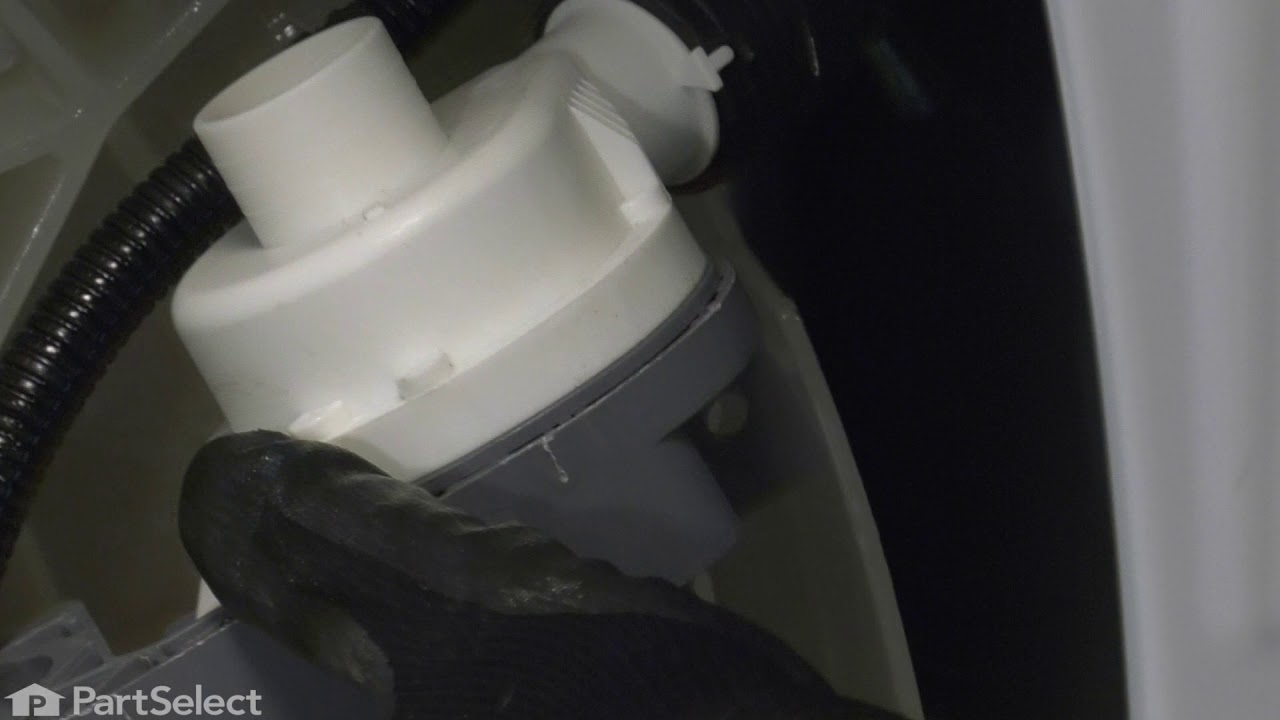
This drum shaft assembly is for washers. Drum shaft assembly connects the spin basket to the drive motor to spin the basket. Unplug the washer before installing this part. Wear work gloves to protect your hands.
$381.64
In Stock
Questions And Answers for MVWB765FW3
We're sorry, but our Q&A experts are temporarily unavailable.
Please check back later if you still haven't found the answer you need.
43 questions answered by our experts.
< Prev
1
2
3
Next >
Sort by:
Search filter:
Clear Filter
Your search term must have 3 or more characters.
Keep searches simple. Use keywords, e.g. "leaking", "pump", "broken" or "fit".
Sorry, we couldn't find any existing answers that matched.Try using some different or simpler keywords, or submit your new question by using the "Ask a Question" button above!
Scott
January 5, 2022
Washer makes an extremely loud grinding sound (sounds like a garbage disposal) at the very end of the drain/spin cycle. Last for several Seconds and than stops
For model number MVWB765FW3
Hello Scott, Thank you for the question. This is normally an indication the Washer Drain Pump is blocked, damaged or faulty and may need to be replaced. If you need help placing an order, customer service is open 7 days a week. Please feel free to give us a call. We look forward to hearing from you!
The agitator has raised up from the bottom of the tub and sucked a bed sheet under the agitator and won't come out.
For model number MVWB765FW3
Hello Cliff, Thank you for the question. Sounds like the Agitator was loose. Under the cap at the top of the agitator there is a bolt you can remove. Once removed, the Agitator will come off the post so you can remove the Sheet. You just need to reinstall the agitator and make sure it is secure to avoid material getting caught up again. We hope this helps!
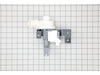
Left hinge broke and broke the plastic around the lid on that side as well. Can I order the lid and hinges together as 1 item or do I order separately
For model number MVWB765FW3
Hi Mollie, thank you for contacting us. According to our research on your model, we found that the lid, part number PS11746533 and hinges, part number PS12731259 come separately. If you need help placing an order, customer service is open 7 days a week!
power at the wall socket, and machine won't power up,when you touch console.
For model number MVWB765FW3
Hi Edward, thank you for the question. Based on our understanding of the issue, we would suggest that you first ensure that the door or lid is closed. Most machines will not run with the door or lid open. If that is not causing the issue, then you may need to check the electronic control board, part number PS16217891. If it is faulty, you may need to replace it. We hope this helps!
Often the machine will shut off at the start of the cycle, even before the door locks. Gives a single "powering down" chime and powers completely off, so no chance to see any error code. Not every time, and the load does not seem to affect this behavior, as it will happen even with an empty drum. Seems random, but getting more frequent. We know it will be a successful run when we hear the door lock.
For model number MVWB765FW3
Hi Steve,
Glad to hear from you. If the washer shuts off at the start of the cycle, we would recommend checking the lid switch, part number PS11722981. We hope this helps!
This product comes in a bottle with a brush like Liquid Paper. It goes on incredibly easy. A second coat might be needed. I wanted to prevent rust from setting in so I covered the scratches and dings. The paint is a little brighter since my washer is 10 years old but it still looks great.
1.) disconnect power to your washer. Turn off water supply and disconnect from the washer.
open the washer top and remove plastic cap from the wash plate
2.) using 7/16 socket, remove bolt from the wash plate. If you can't remove it with a socket , I recommend using impact wrench.
3.) remove wash plate ( you might need to spray penetrating oil or wd40 inside the bolt hole to loosen it. Check to make sure the wash plate gear grooves are not worn down, if they are, replace it.
4.) using your Maytag specific spaner nut wrench, remove the spaner nut from the shaft of the gear case. This should be right underneath where the wash plate was. If you can't turn it by hand , use a rubber mallet or hammer to encourage it.
5.) some people remove the wash basket at this point. I don't think it is necessary.
6.) close your washing machine. Tape the top closed to keep it from flying open. Tilt your washer back and prop it up where you have access to the underside of the washing machine.
7) remove motor rotor bolt and pull rotor off of the motor.
8.) disconnect the two wire connectors that supply power to motor. using a socket, remove bolts that are keeping motor attached to the gear case.
9.) Now that the gear case is all the is remaining on the underside, you can remove the 4 bolts that are holding the gear case to the washer. Now try to pull gear case out.
10.) if gearcase will not pull out, lower washer back to upright position. Spray penetrating oil or wd40 around the shaft of the gearcase and allow it to sit for 5-10 minutes. Using a hammer, lightly tap on the shaft of the gearcase and it should now fall out. ( you might have to apply penetrating oil again, or apply more force with the hammer.
11.) reinstall motor to new gearcase. Insert new gear case to the washer. Reinstall bolts and reconnect power supply wires.
12. ReInstall spaner nut inside the washer, reinstall wash plate.
Raised lid to remove two Torx head screws from each hinge. Lid will then lift off of hinges. Installation of new lid was the reverse of the removal procedure. It is best to install one hinge to the lid by removing that hinge from the washer. The lid can then be installed by inserting that hinge into it's spot and then over the other hinge. Install the hinge screws into the second hinge and the job is complete. The lid now closes properly allowing the automatic lid lock to function properly.